In this guide, we will walk through the process of creating a calendar using UI Builder.

Setup
- Open UI Builder.
- Click on “Create New”.
- Provide a name, URL path, roles, and other relevant details.
- Click “Create” and then “Open Experience”.
- Create a new page.
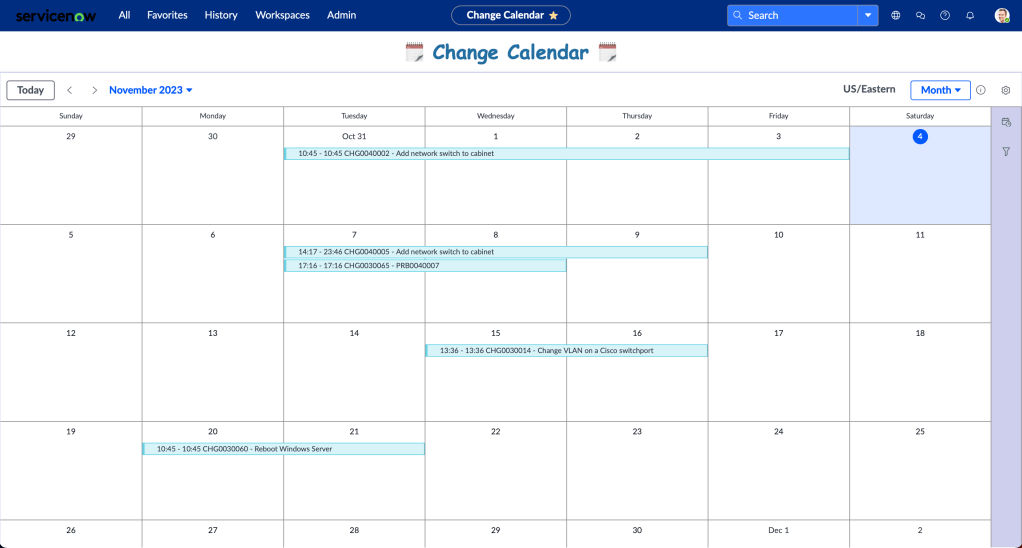
Start by adding a new “Calendar Report” component to the page.

Configure the report with the following settings
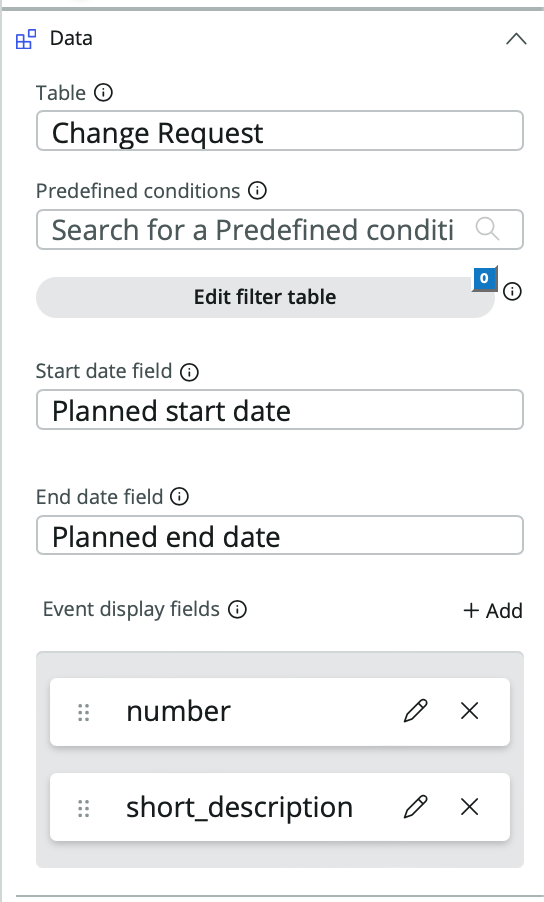
This will create the basic report, however, none of the records will be clickable.

Here are the steps to configure a modal to view the details of a record when clicked.
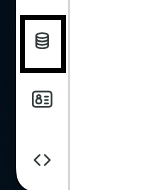
Click the Data icon in the bottom left
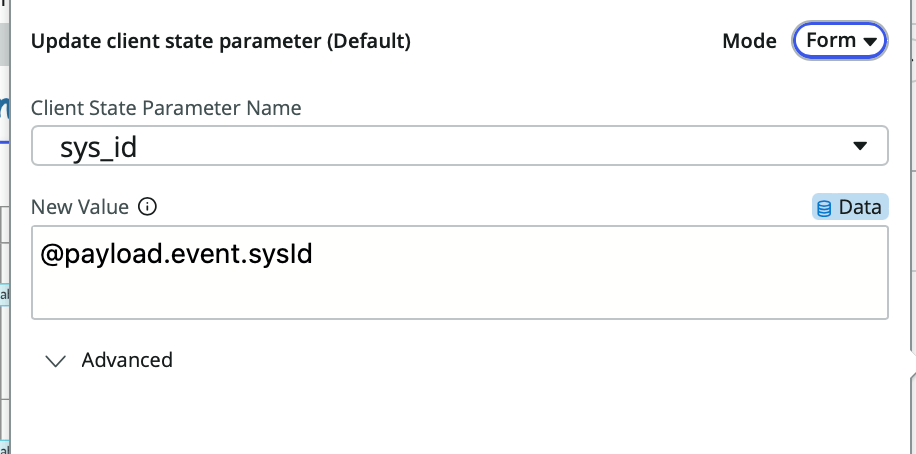
Configure a new client state parameter.

Create a new Modal

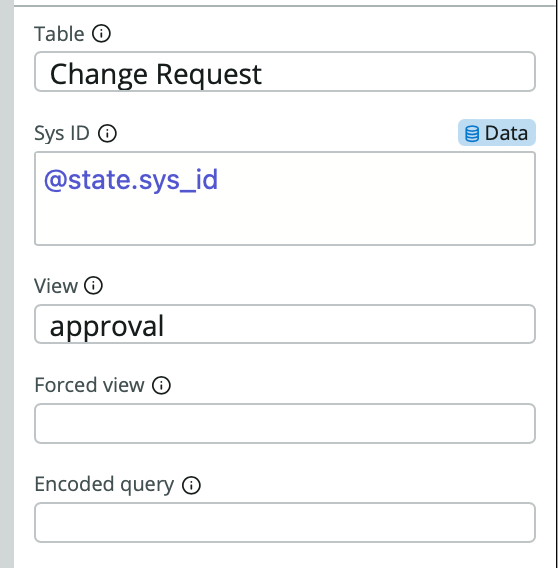
Within the modal, add the “Display only form” component.
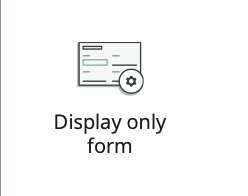
Configure it with the following settings
Note: @state.sys_id, is the client state parameter that we previously setup.
To link the calendar report to the modal, event handlers need to be created. To do this:
- Go to the calendar settings and click on “Events”.
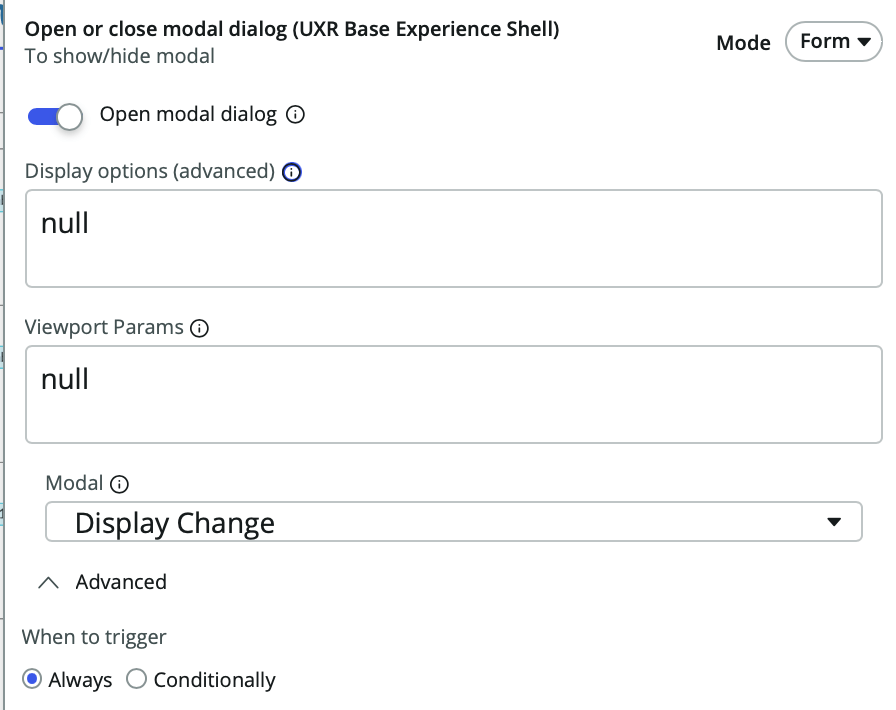
- Add two new events: “Update client state parameter” and “Open or close modal dialog”.
- Configure the events as shown below:

Once these steps are complete, the calendar will be fully operational.
Clicking on a record will display a read-only popup.
This is just a basic example but the possibilities are endless with UI Builder.
